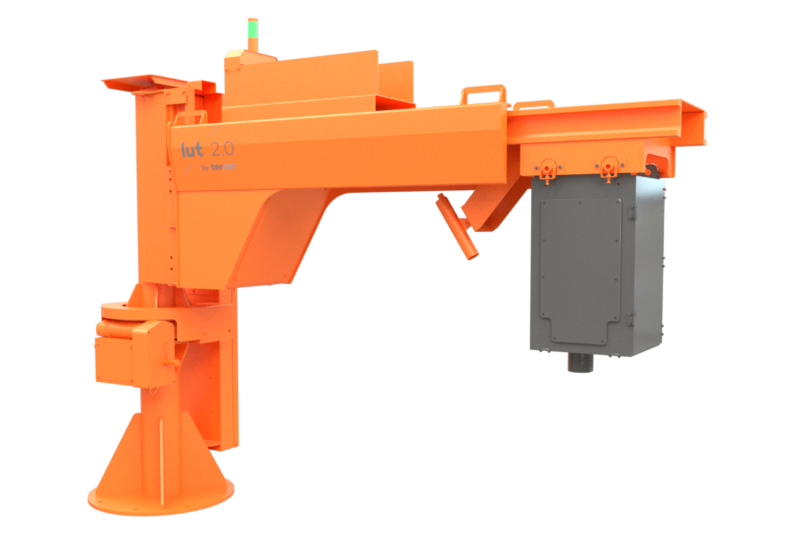
Laser ultrasonics:
The only technology to detail true wall thickness measurement
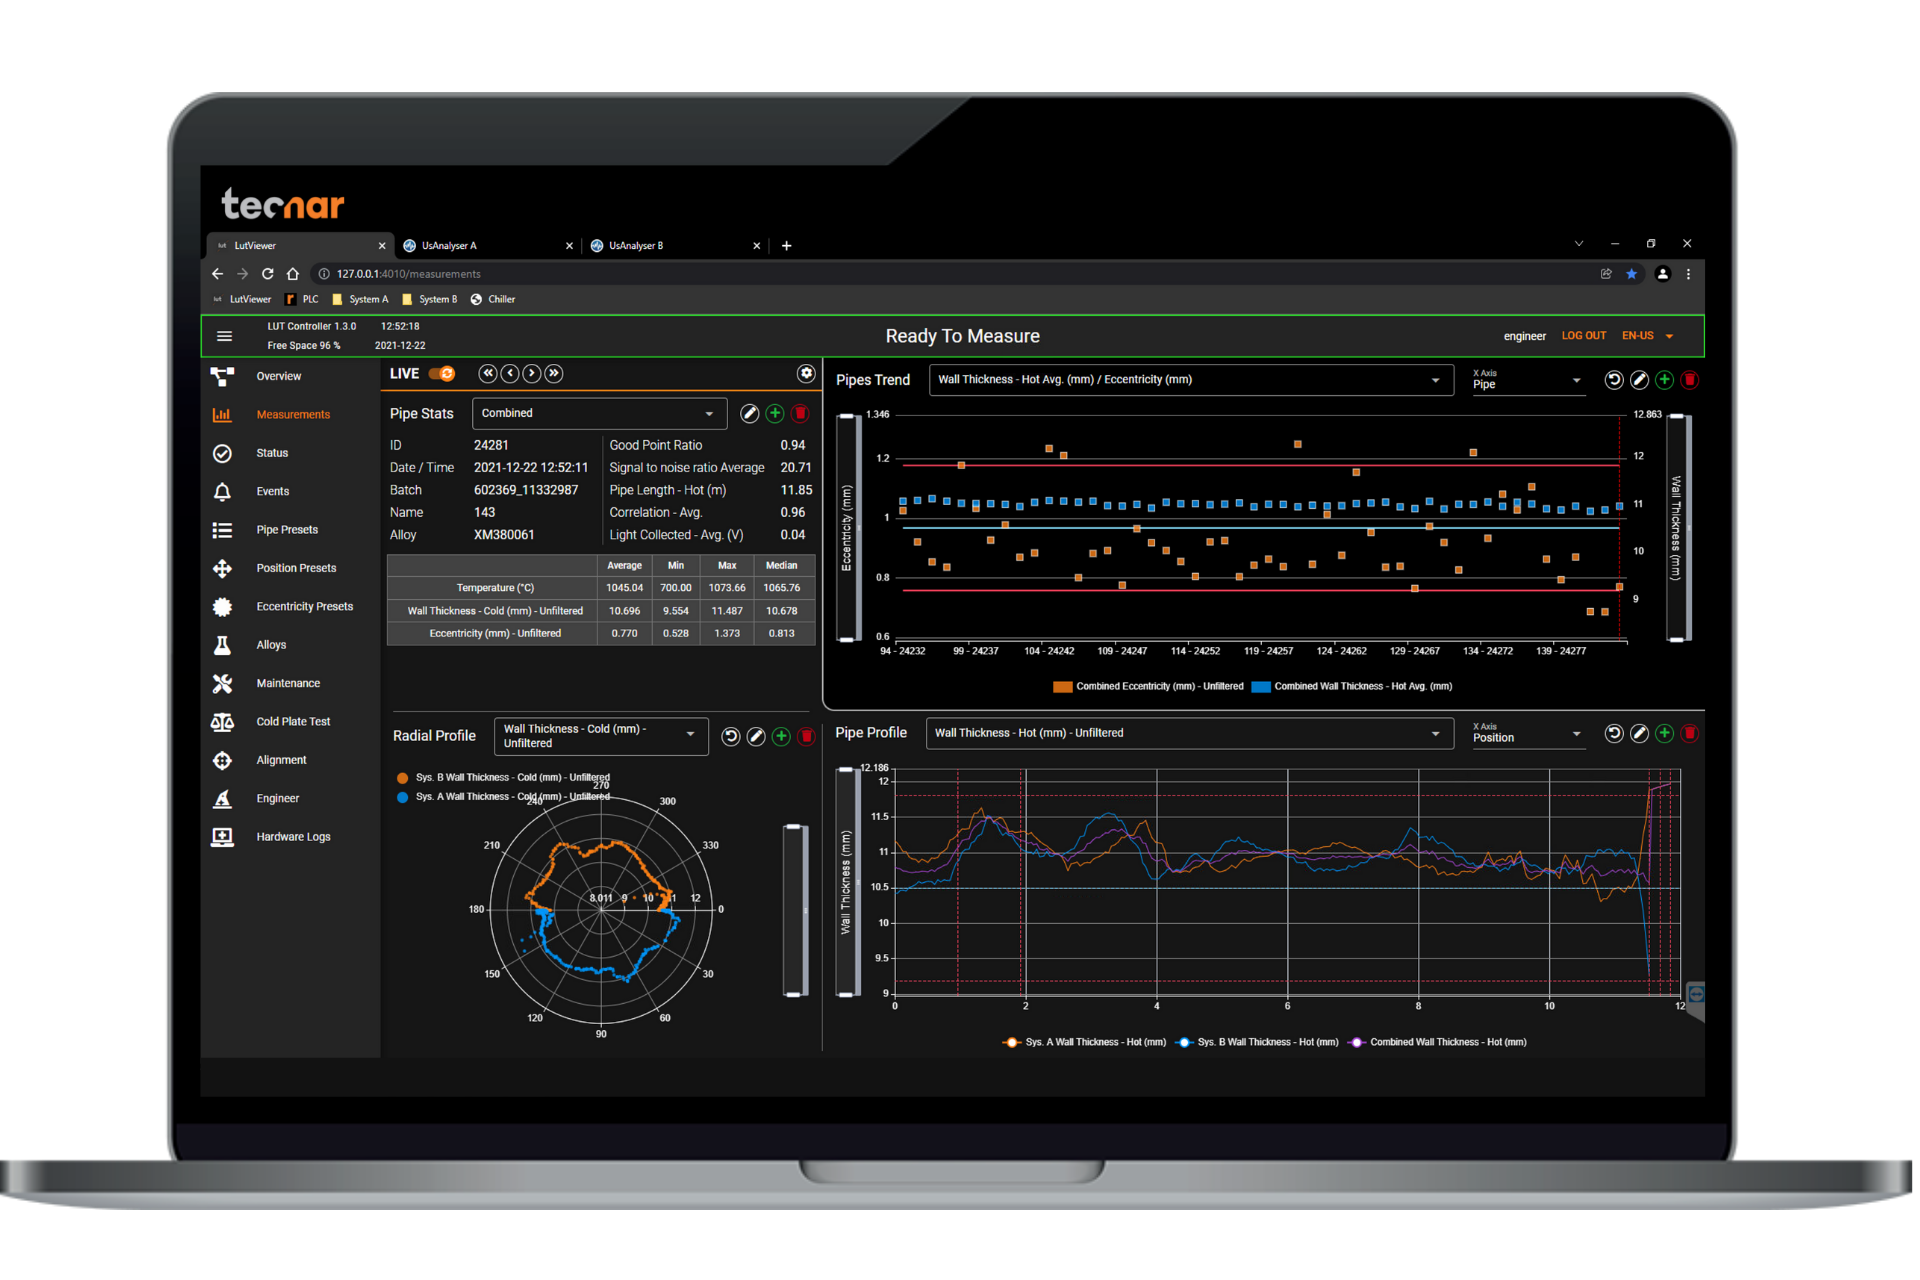
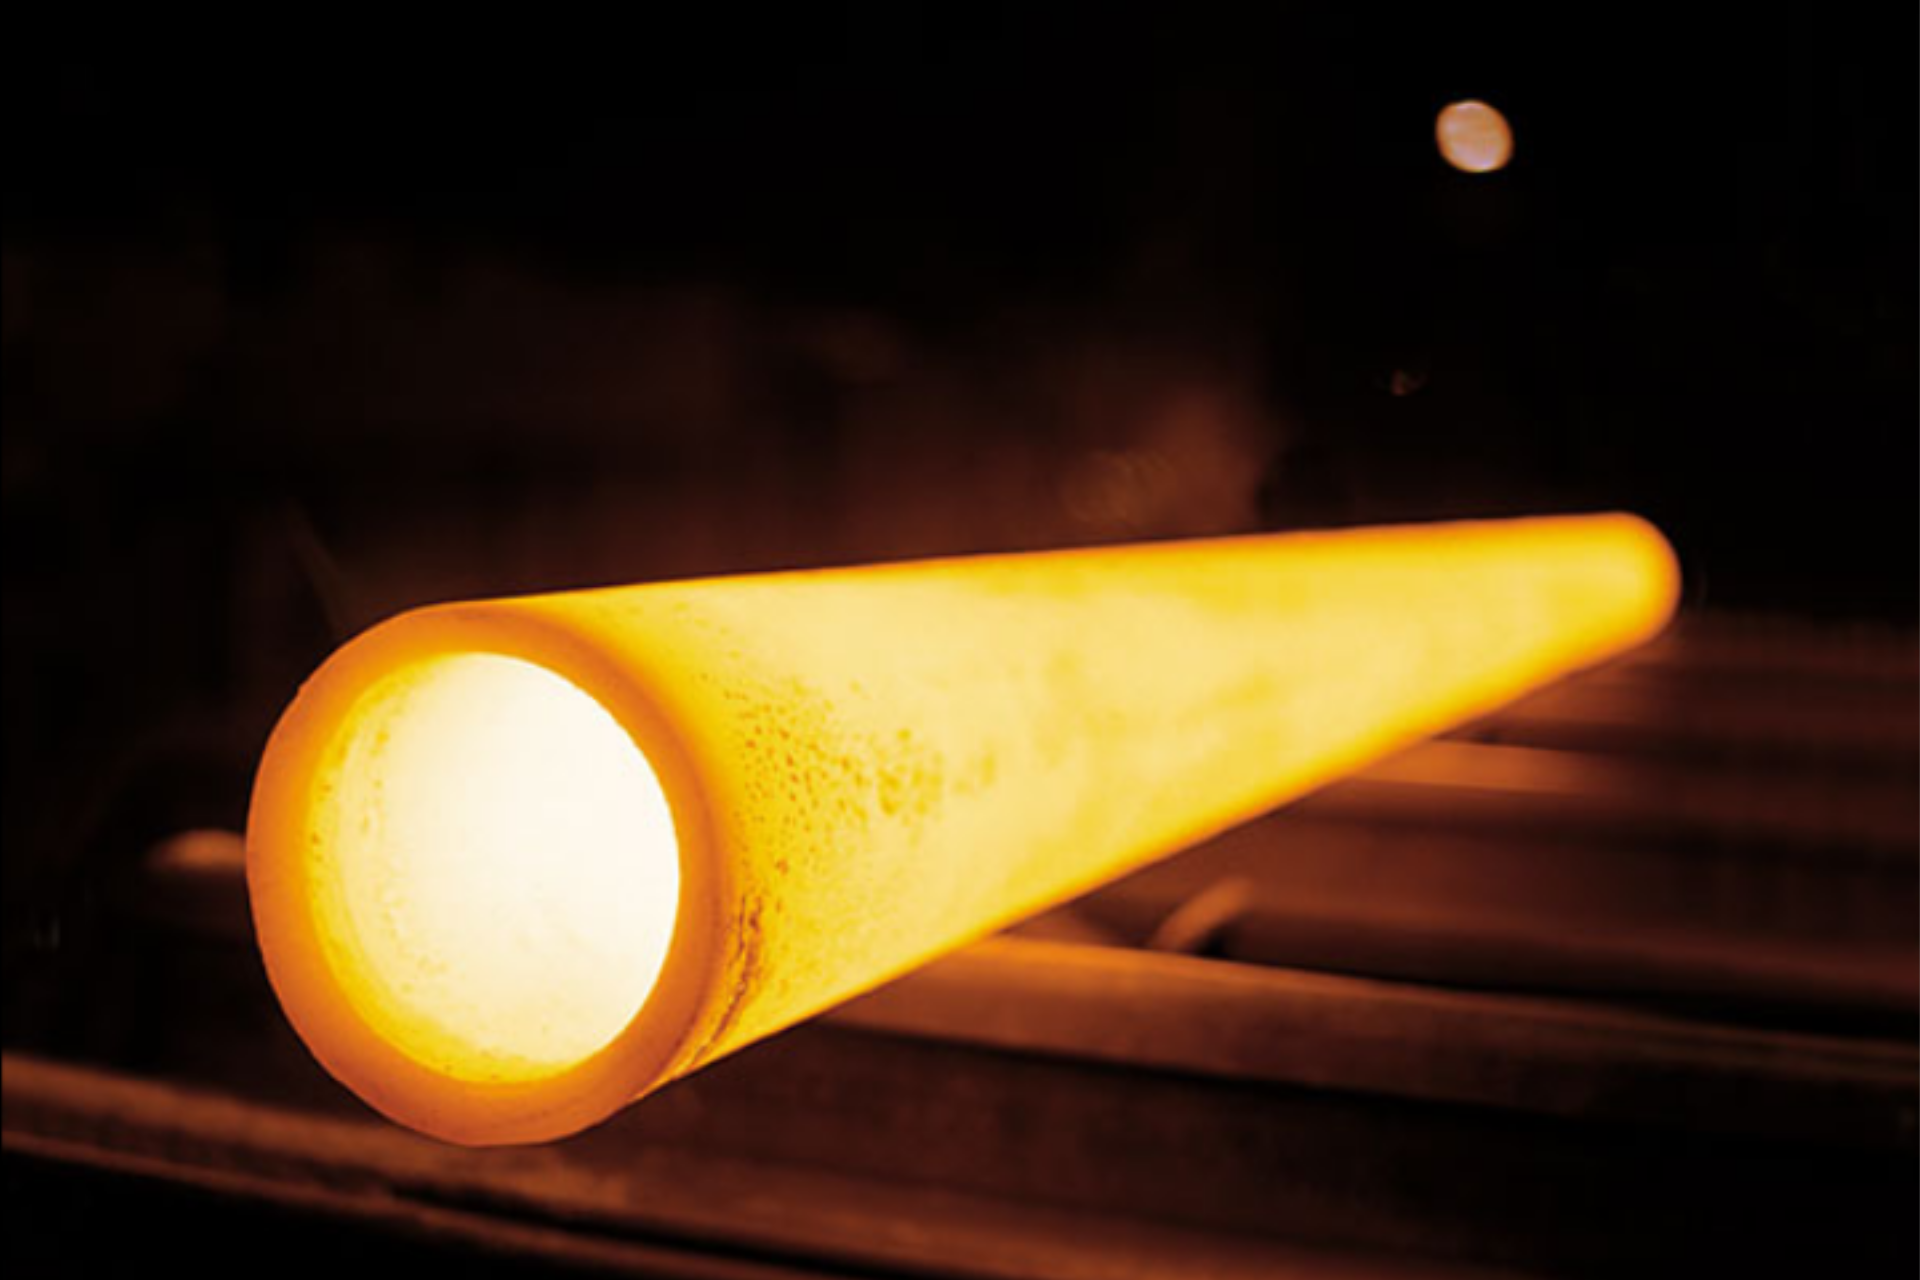
With each laser shot, the Lut 2.0 probes a small, localized, volume of the tube to achieve direct single-wall thickness readings with the highest spatial resolution in the industry.
Talk to an expertThe concept of laser ultrasonics
Laser ultrasonics is a non-contact measurement technique that combines the precision of ultrasound with the flexibility and long working distance associated with optical systems.
1. Generation laser fires on the tube and launches a pulse
A high-power short-pulse laser generates an ultrasonic pulse on the surface of the tube, creating an ultrasonic compression wave that propagates throughout the material.
2. Detection laser records pulse
A second laser monitors surface motion. The ultrasonic wave rebounds off the inner surface of the tube, then travels back to the surface where it is sensed by the detection laser.
3. Detection unit processes pulse into thickness
A laser ultrasonic interferometer processes the information embedded in the back-scattered detection laser light, providing a signal identical to a standard ultrasonic probe.
Key advantages of laser ultrasound
True wall thickness measurement
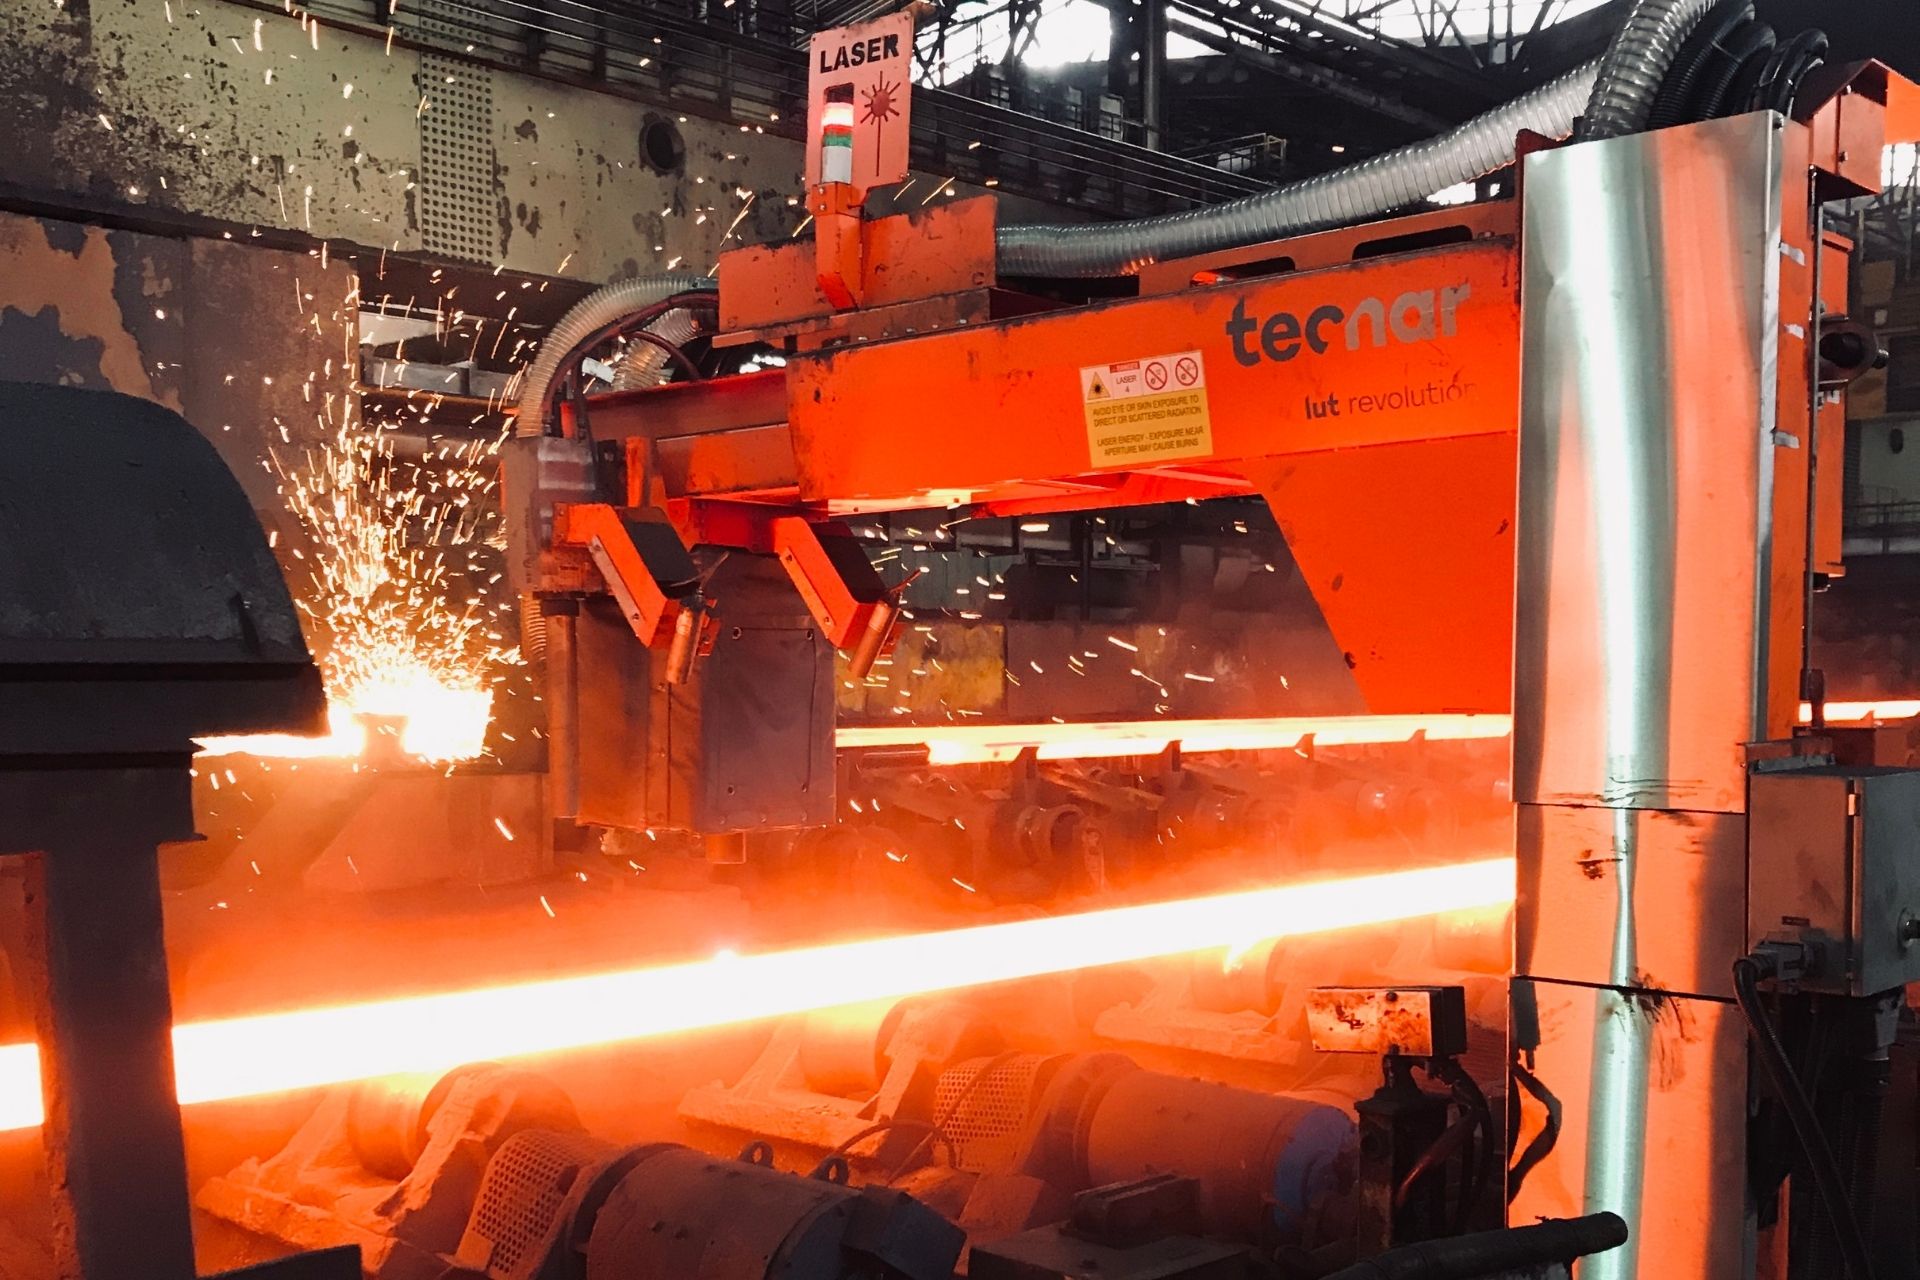
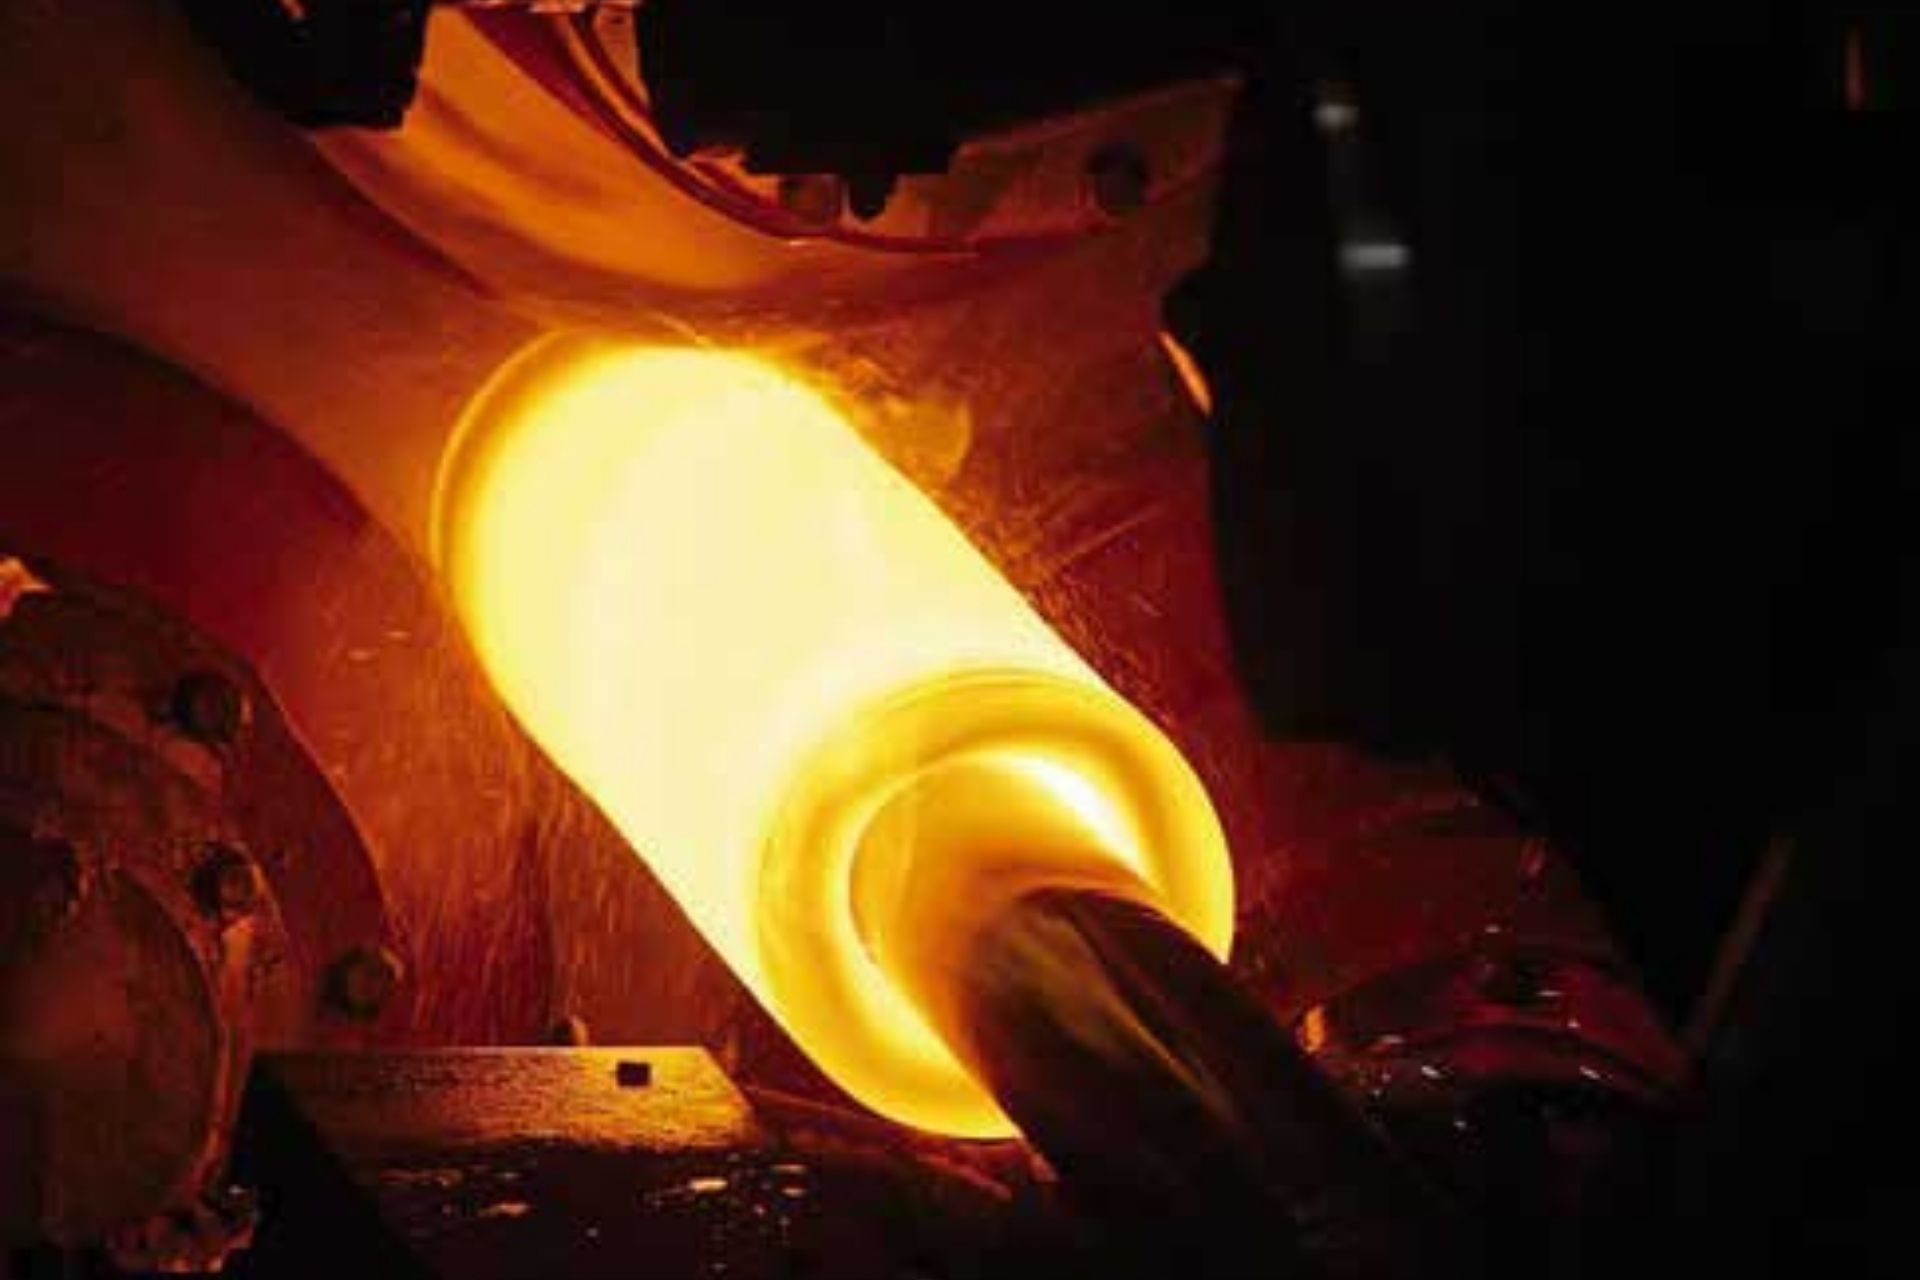
Ultrasound is unquestionably the most accurate technique for wall thickness measurement and the tube industry standard for cold inspection. Thanks to the non-contact nature of laser ultrasonics, the Lut 2.0 applies legendary ultrasonic performance to hot tubes.
Hot rolling mill operators and technologists now have access to insights not available with traditional radiometric gauging technology. Laser ultrasonics is the only technique that allows for direct, true, single-wall thickness measurements.
Direct eccentricity assessment
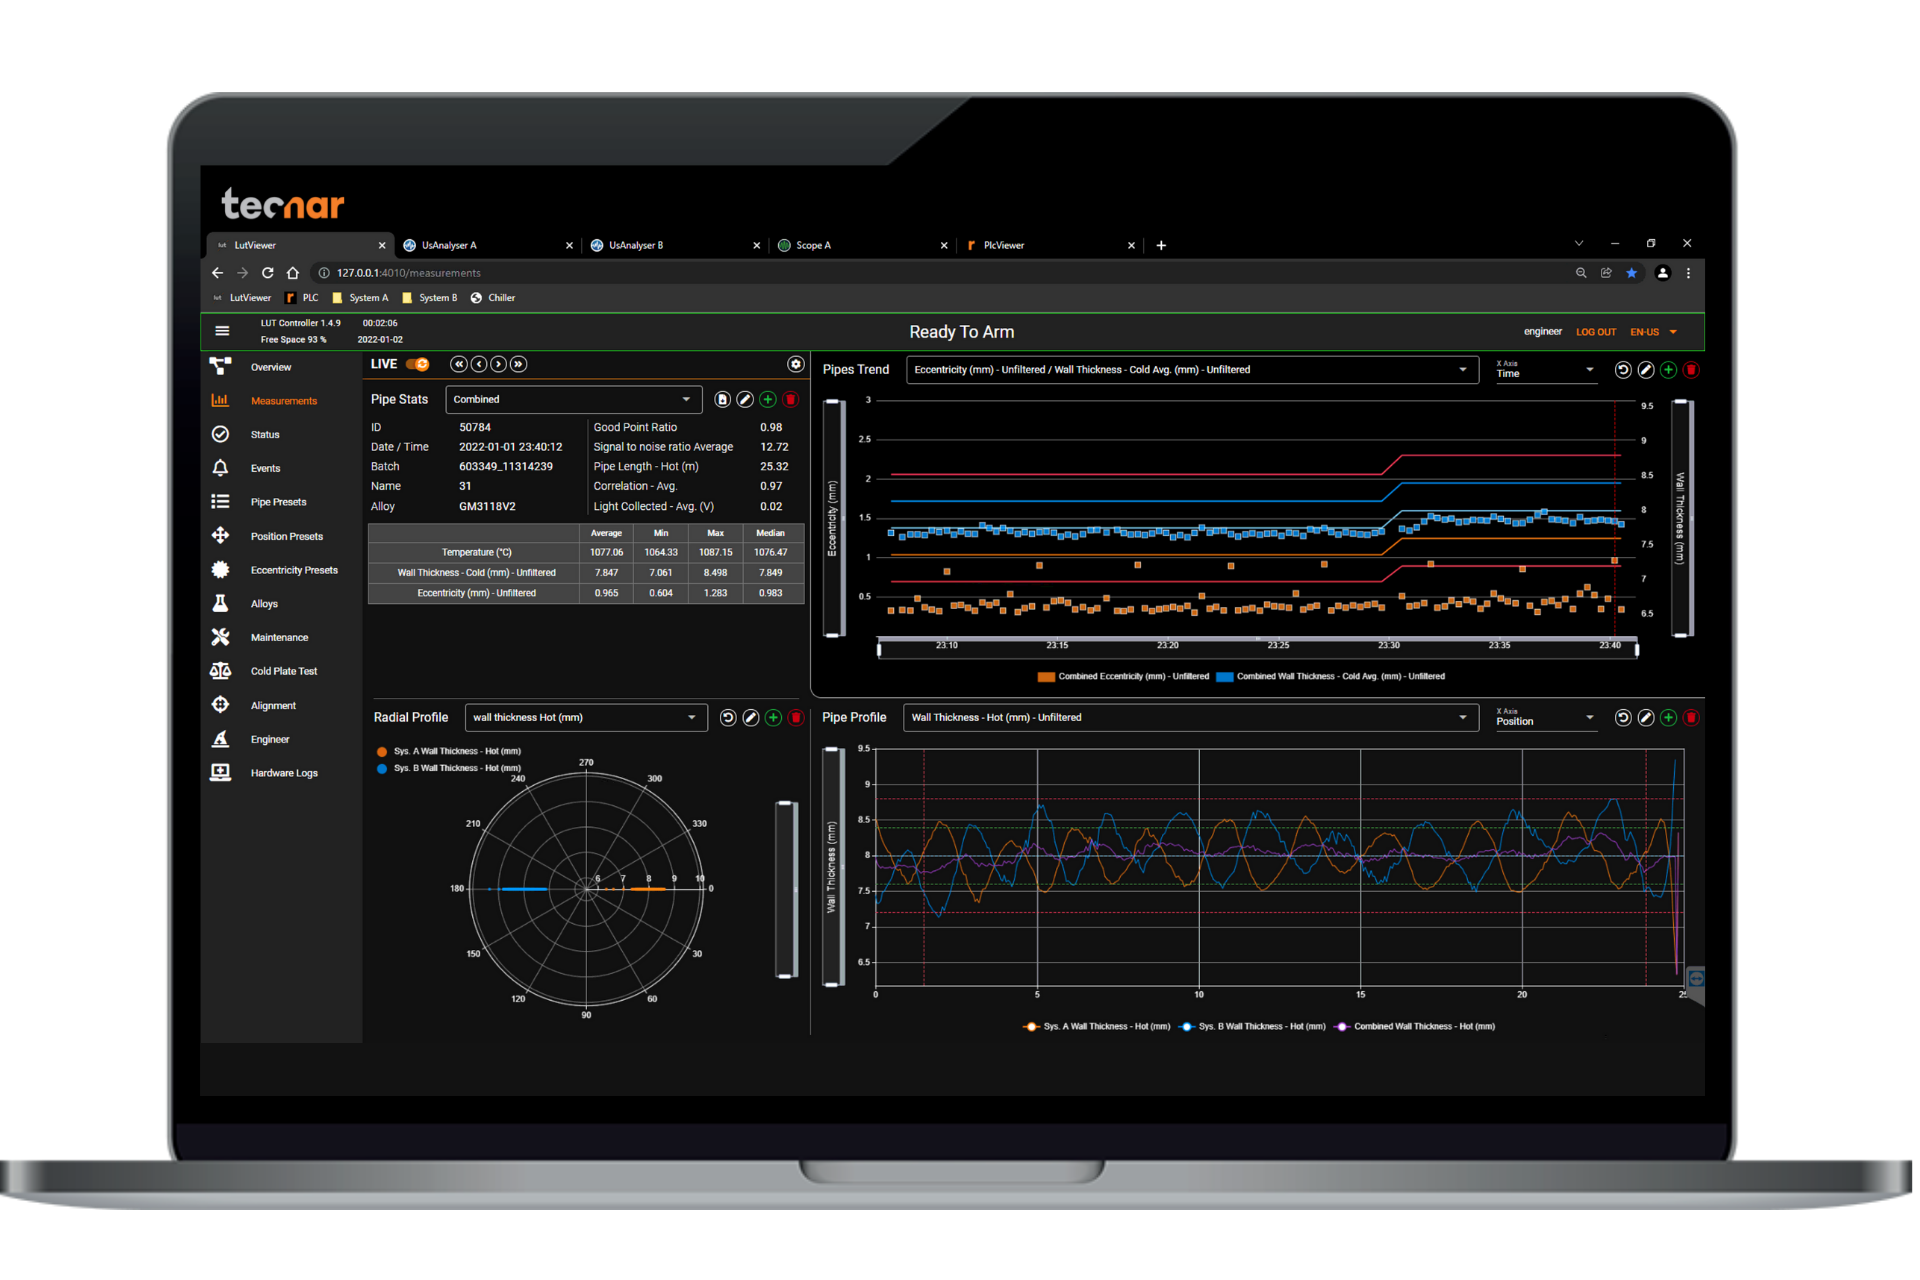
There are many sources of eccentricity in seamless tube manufacturing, each affecting the tube profile differently. By measuring eccentricity directly, the Lut 2.0 can:
- Distinguish between different eccentricity orders
- Quantify them independently
- Establish their root cause in the tube manufacturing process.
As an example, the Lut 2.0 automatically detects how much of the first order eccentricity is caused by the rotary furnace (unevenly heated billets) or piercer settings (hollow movement, plug wear, etc.). With this information, tube mill operators know precisely where to act and are able to fix issues faster.
Not affected by tube vibration
Tube motion and vibration is unavoidable in seamless tube mills and may have a significant detrimental impact on the accuracy of wall thickness gauges. With laser ultrasound, the probing pulse is generated on the surface of the tube and travels perpendicularly, making the Lut 2.0 accuracy immune to tube vibrations and lateral movement.
Compatible with a mandrel
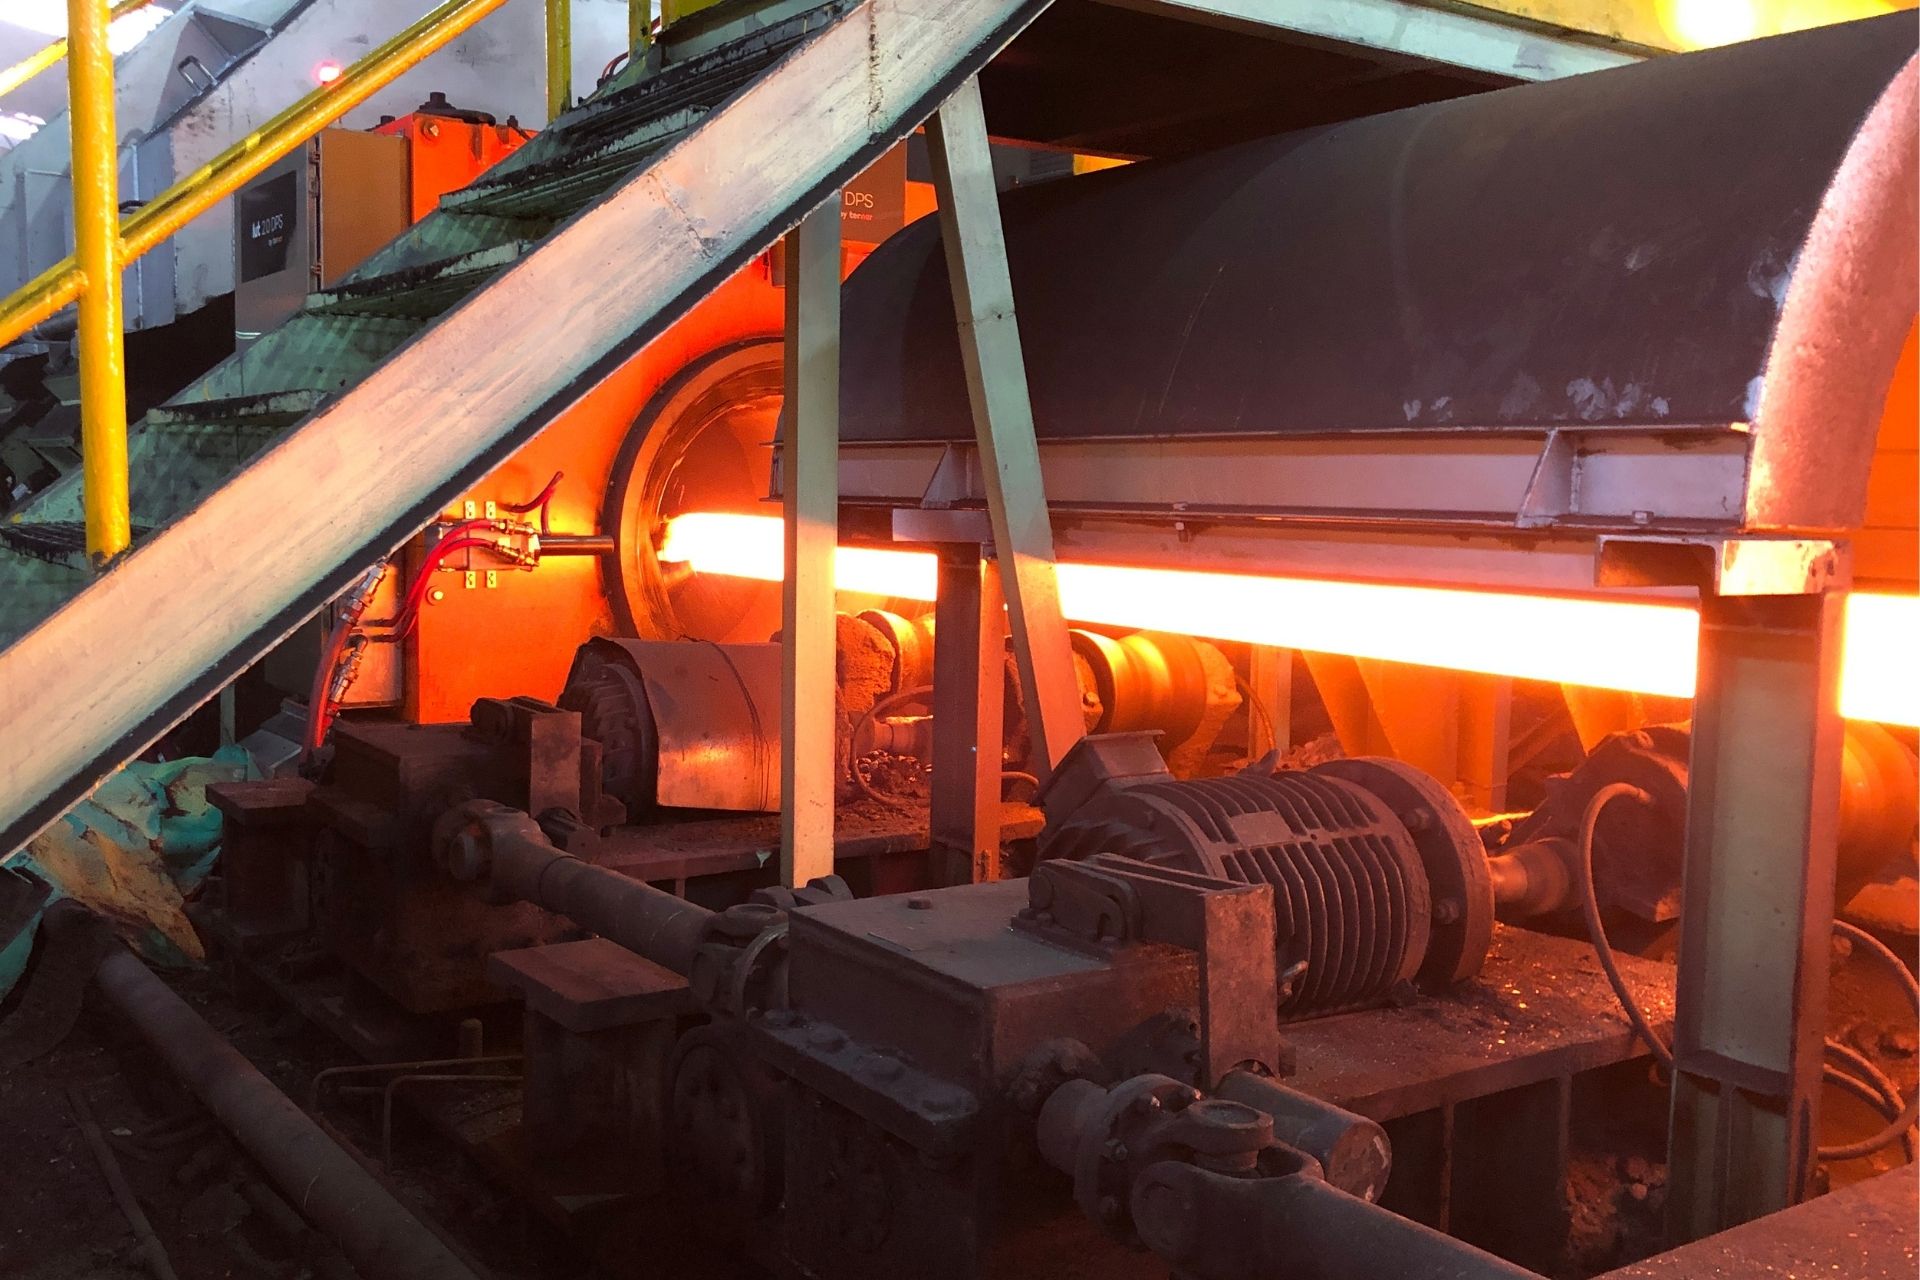
Several hot rolling processes use a mandrel bar. As the tube leaves the mill, the bar may still be inserted, limiting the possibility of monitoring wall thickness with traditional gauging techniques. Since laser ultrasound only probes a single wall, the Lut 2.0 measures wall thickness, even when a mandrel bar is present. This introduces new possibilities for push-bench and Assel mill operators to integrate the gauge into critical steps of the rolling process, which is not an option with other technology.
Sensitive within 10μm variation
A fine tool is required to achieve pinpoint accuracy. In laser ultrasonics, every laser shot generates an extremely sharp acoustic pulse that’s more sensitive than traditional contact ultrasound. Combining sharp accuracy with highly localized measurements, the Lut 2.0 captures minute wall thickness variations that are impossible to detect with legacy methods using wider inspection beams.
This means that the Lut 2.0 delivers the highest resolution for a wall thickness gauge. Now, even small features, such as overfills, uneven roll pressure or high eccentricity modes can be detected.
No harmful radiation or hazardous waste
Work environments should be as safe as possible. The Lut 2.0 is based on invisible infrared light that requires minimal safety measures, such as fences and optical shields, to fully protect operators. And since it doesn’t use any radioactive material or generate any hazardous waste products, it’s a safe, environmentally friendly inspection technique.
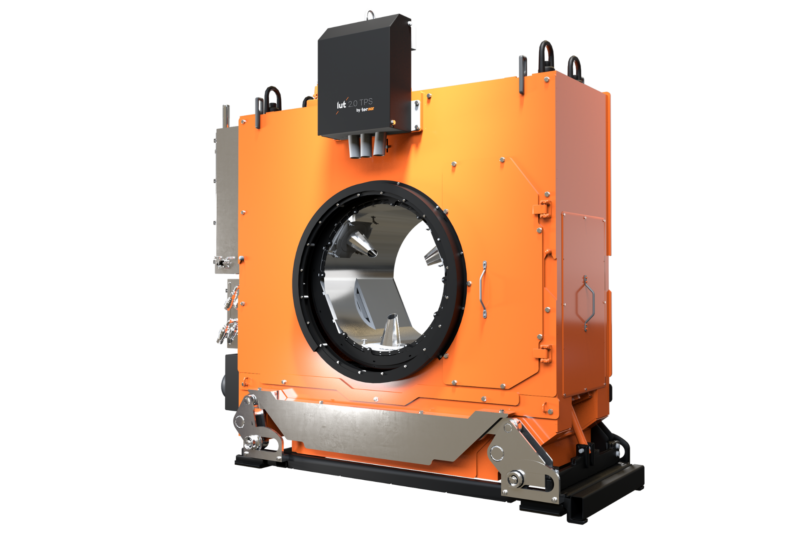
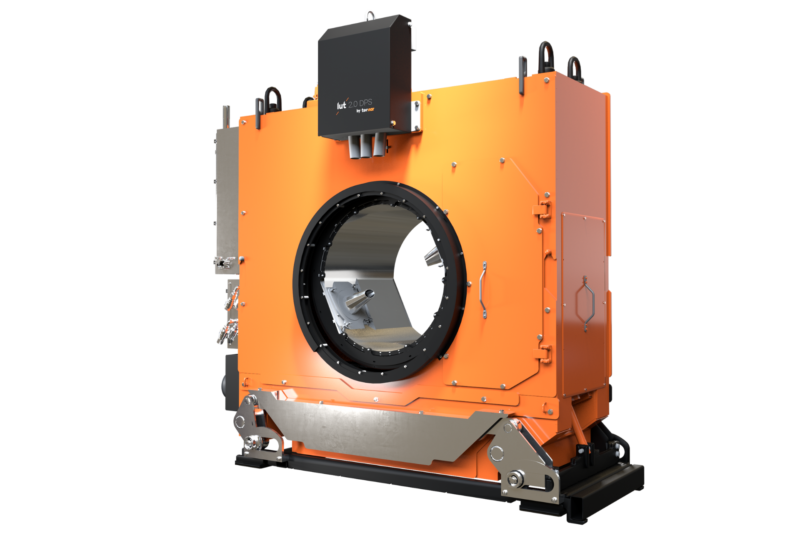
Discover the various Lut 2.0 configurations
Talk to our expert today
Leave your details so our experts can contact you. Our team will answer all your questions and suggest the best solution for your needs.
